100% NATURAL VERSION - GREEN LINE
Enjoy the same ease of application, durability and aesthetic qualities of the original product with its 100% natural version. Made with hydrated lime, selected marble powders, vegetable starches, cellulose, milk derivatives, and pozzolanic agents, this completely natural option eliminates all chemicals.


Our Pastellone is based on the traditional “Pastellone Veneziano” recipe. This antique application of Venetian Plaster to floors can be found throughout Venice and the Veneto Region. Our Pastellone combines this antique tradition with modern materials and techniques to achieve a balance of aesthetics and durability.
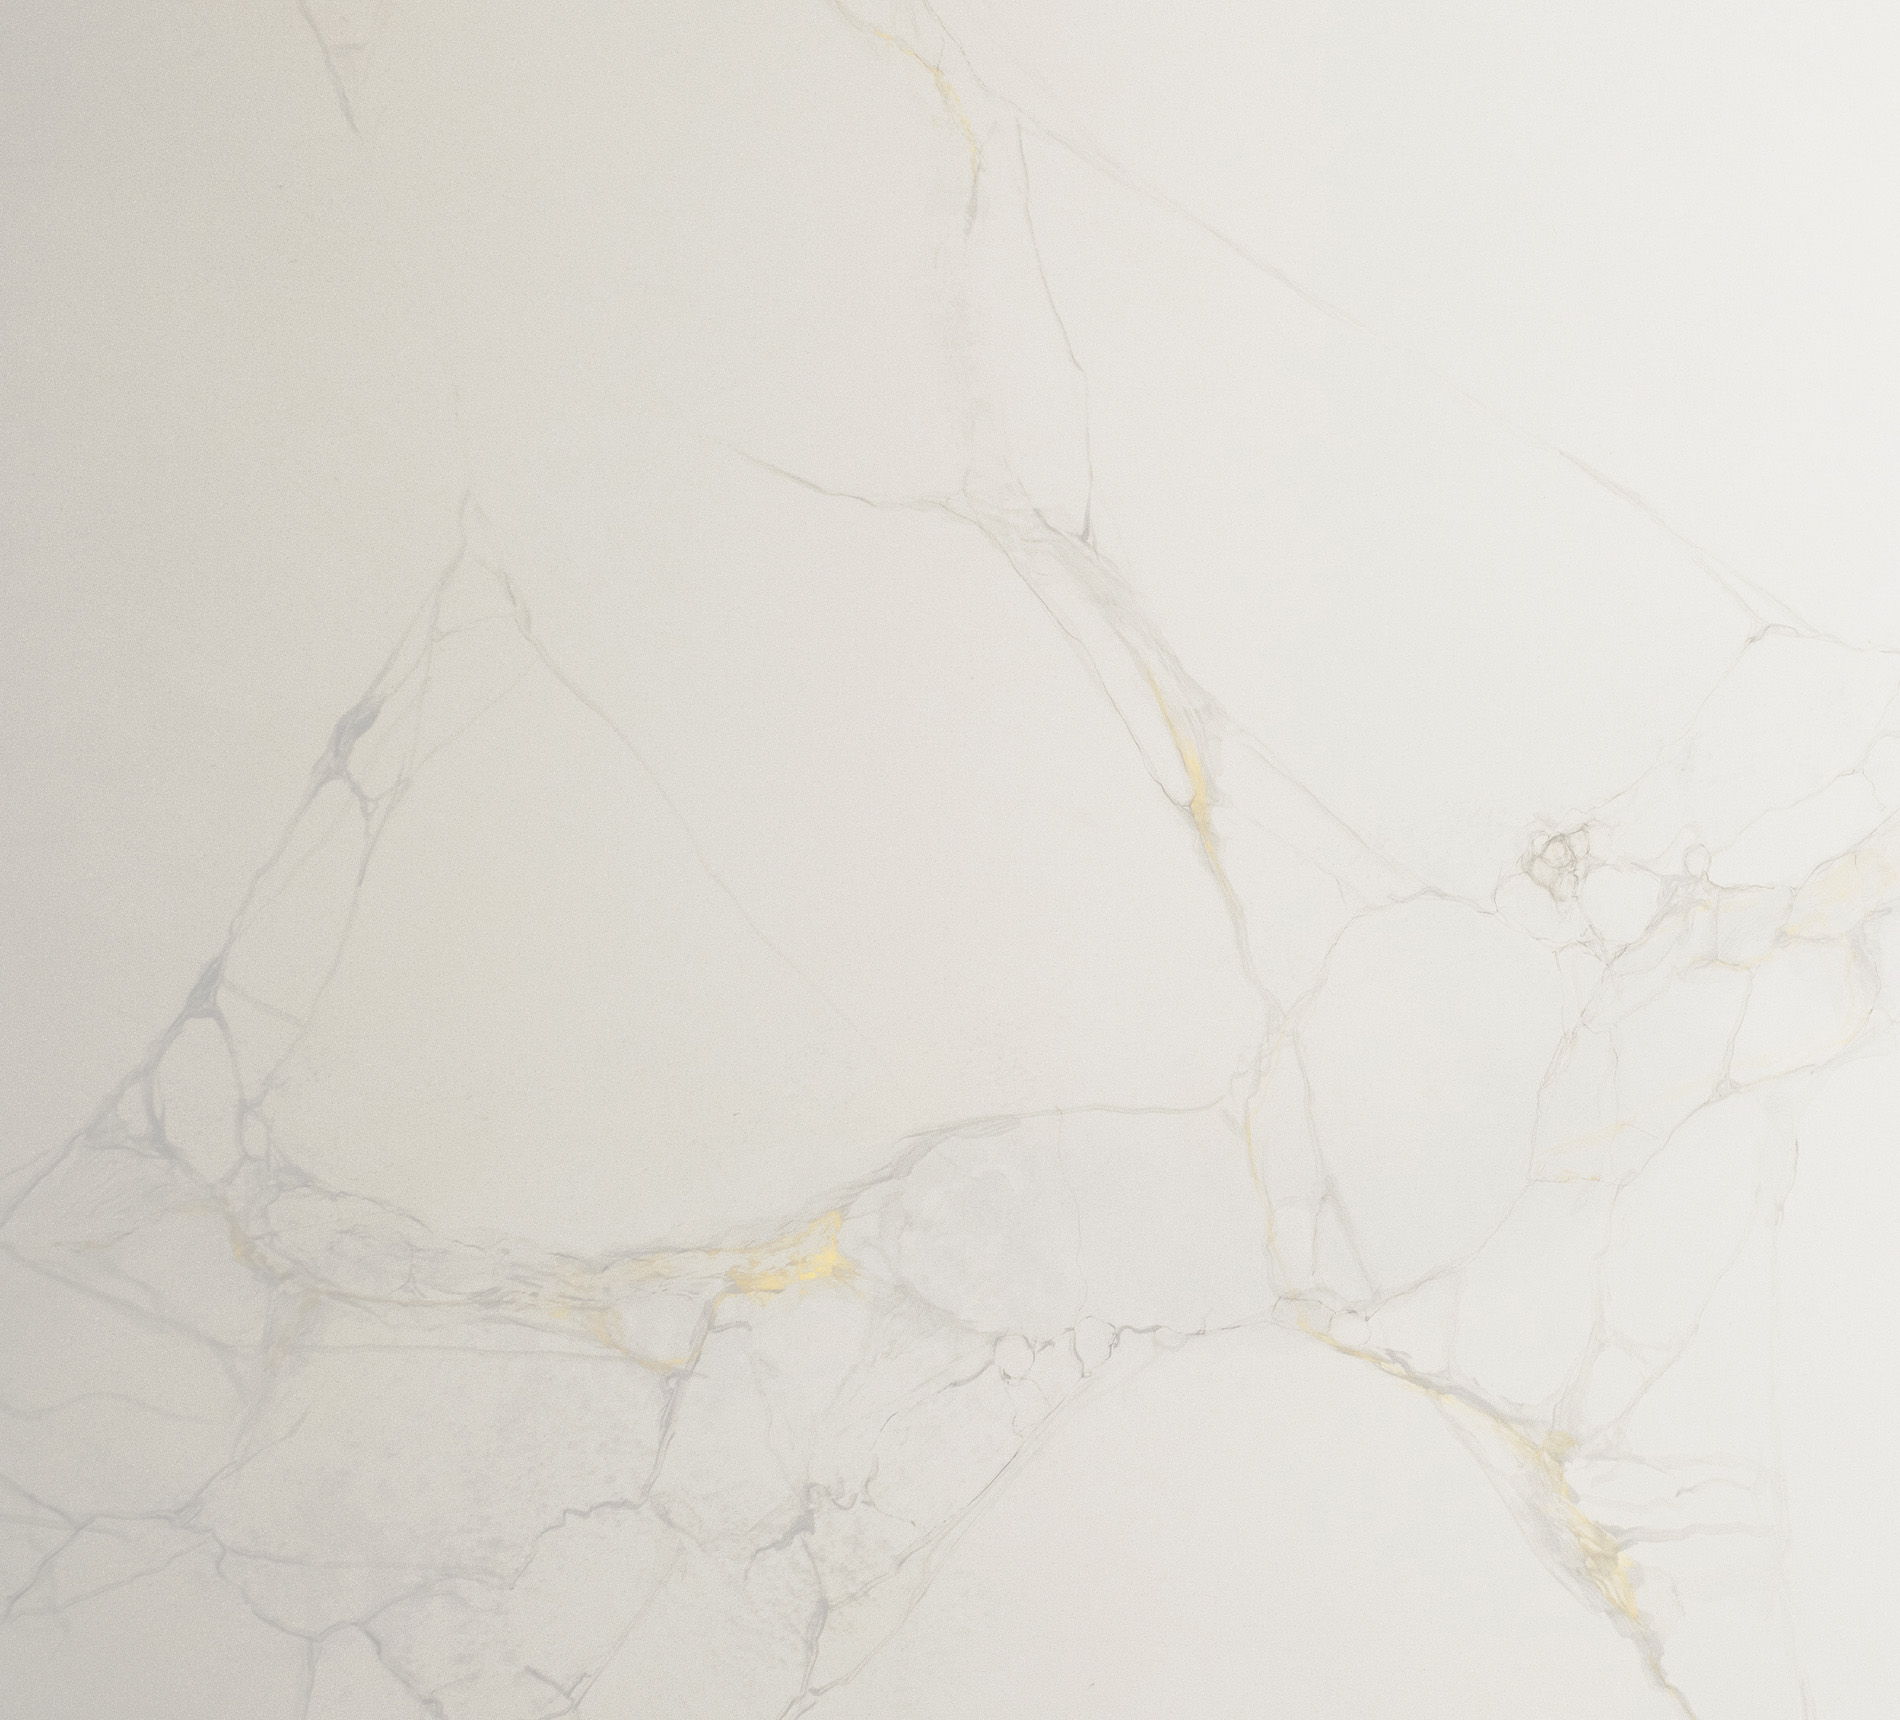
Pastellone has a smooth, lightly polished finish that can vary based on the application technique and protective treatment. This seamless finish is ideal for minimalist spaces and areas where natural materials and simple lines are desired. It can be used in a variety of flooring areas, including bathrooms, kitchens, stairs, hallways, bedrooms, and even shower walls and saunas. It can also be applied to worktops, furniture, and walls for a wall-to-floor finish.
Go back and see the other productsDocument type Technical Data Sheet
Name PASTELLONE
Description Natural, hydraulic lime and cement-based plaster in powder form, for decorative floor
and wall coatings. PASTELLONE adapts to a wide variety of uses and aesthetic needs:
whether applied to interior or exterior walls, shower walls, tabletops or interior flooring,
this decorative finish marries elegance with strength and durability.
Composition Hydraulic lime, Portland cement and selected marble powders
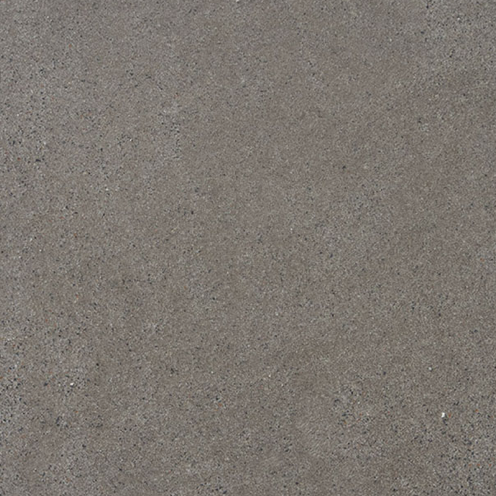
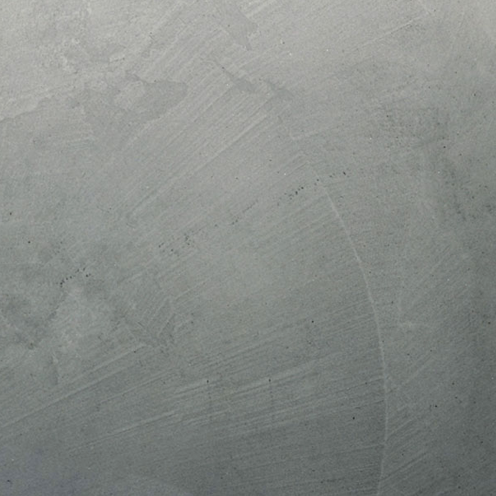
Versions PASTELLONE MEDIUM, PASTELLONE FINE, PASTELLONE MEDIUM GREY
Grain size PASTELLONE MEDIUM: 700 microns
PASTELLONE FINE: 400 microns
Appearance Powder
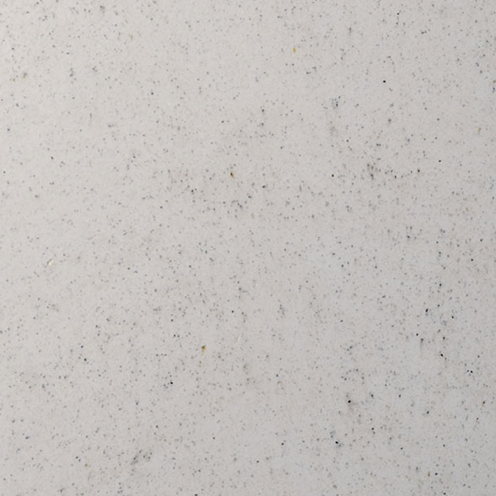
Colour White, it can be tinted in any colour with lime-compatible colourants. PASTELLONE
MEDIUM GREY is the only version which comes in natural grey.
Packaging 16 kg net polyethylene containers
Application By hand, with a steel trowel
Type of Surface Interior and exterior vertical surfaces, included wet areas such as showers and saunas
Interior flooring
Furniture
New Wall Surface
Plaster: no priming necessary
Gypsum / Plasterboard / Medium Density: one coat of QUARTZ PRIMER
Old Wall Surface
Plaster: one coat of QUARTZ PRIMER
Fast drying / Limewash: brush down and apply one coat of QUARTZ PRIMER
Polished Lime: Abrade, brush down and apply one coat of QUARTZ PRIMER
Washable Paint: one coat of QUARTZ PRIMER
Floors
New Cement Screed*: Clean and apply one coat of UNIVERSAL PRIMER
Plywood Panels*: See notes below, 1 or 2 coats of QUARTZ PRIMER
Tiles*: See notes below, 1 or 2 coats of GLP
Marble: 1 coat of GLP
Furniture
Wood: 1 coat of PRIMER Q, then 1 or 2 coats of BASE FOR FURNITURE
Dilution To achieve the desired paste consistency, mix water with PASTELLONE MEDIUM at a
ratio of 300 ml per 1 kg, and with PASTELLONE FINE at a ratio of 320 ml per 1 kg.
Wear protective mask and glasses when mixing. For 16 kg of PASTELLONE MEDIUM,
use 4.8 L of water, and for 16 kg of PASTELLONE FINE, use 5.12 L of water. Wear a
protective masks when mixing the powder.
Consumption MEDIUM + FINE:
MEDIUM:
MEDIUM with aggregates:
1.6 kg / sqm of powder after 3 coats
1.8 kg / sqm of powder after 3 coats
1.8 kg – 2.3 / sqm of powder after 3 coats
February 24 TDS PASTELLONE 2 of 8
Drying 1-4 hours at 20°C / 68°F
8-14 hours at 20°C / 68°F
60 days
to the touch
below the surface
stable
Application temperatures min 5 max 30°C – R.U. < 85% ca
Coat Thickness 1.7 – 2 mm for a total of 2-3 coats. If with aggregates, it can reach 3 mm.
VOC Classification EU Directive 2004/42/CE: EU limit value for this product (cat A/l – water-based
decorative effect coating): 200 g/l (2010). This product contains less than 1 g/l of VOC.
Specific Weight 1.4 ± 0.2 (g/L)
pH after 30 days 12.4 ± 0.50
Vapour Permeability SD ~ 0,04 m (DIN 52 615)
Flammability European Class of Reaction to Fire A1: non-combustible – no contribution to fire
Mould Resistance ASTM D 3274 – “Standard Test Method to evaluate the degree of surface
disfigurement of paint by microbial, fungal and algae growth.
Result: Front Panel 10/10/10 Back Panel 10/10/10 = no growth
Hardness Shore Hardness D: 80 average value (ASTM D 618: 23°C, 50% RH)
Pencil Hardness: 6H (ASTM D3363)
Compressive strength After 28 days; > 15 N/mm2 average value (UNI EN 13892-2 ; 2005)
Flexural strength After 28 days; > 6 N/mm2 average value (UNI EN 13892-2 ; 2005)
Adhesion strength After 28 days; 1,2 N/mm2 average value (UNI EN 13892-8)
Abrasion resistance Thickness 1013 µm 1013, n. of cycles > 10000 (ASTM D 2486-06)
Impact resistance: Impact energy before the breaking point: 0.120 kg*m (UNI EN ISO 6272-2)
Slip resistance: R11 (DIN 51130: 2004). However, final slip resistance depends on the top protective
treatment.
Pot life 2 hours on average
Shelf life 24 months when stored according to the recommended guidelines
Storage In original sealed packaging between 5° - 35°C in a dry, dark environment
Safety Norms Irritating. / Risk of serious damage to eyes. / Irritating to the skin. / Keep out of children.
/ Avoid contact with eyes. / In case of contact with eyes, clean immediately with water
without rubbing them, and consult a doctor. / Wear suitable gloves and eyes / face
protection. / In case of ingestion of the products, consult immediately a doctor showing
him the can or the label of the product. Danger labelling under directives 67/548/EEC
and 1999/45/EC and following amendments and adjustments. The product must be
transported, used and stored according to current standards of hygiene and safety.
Disposal Product must be disposed of according to norms and regulations in force. Containers
must be sent for recycling. Follow directions on the packaging
Application Instructions WARNINGS
February 24 TDS PASTELLONE 3 of 8
We recommend using materials from the same production batch for the same project.
If you must use different batches, we suggest mixing their material together to avoid
any slight variations in shading.
To ensure proper usage, dilution, and application of the products mentioned in these
pages, please consult the corresponding technical data sheets.
When preparing the surface and applying the materials, we advise using appropriate
tools and personal protective equipment (PPE).
During application and for the following 72 hours, protect the surfaces from sudden
temperature change, direct sun light and water. Don’t apply in temperatures below 8°C
or above 35°. During application make sure that the work area isn’t too damp to avoid
problems with application times.
Remember to have a strong light parallel to the wall/floor and situated on only one of
the two sides of the wall/floor you are working on (usually on the same side as other
sources of light such as windows). In this way the shadow of the trowel allows you to
see the actual state of the finish. Every so often, during the second and third coat, the
light should be moved so that the wall/floor doesn’t dry out too much in one spot from
the heat of the lamp.
APPLICATION on the ideal substrate: plaster made of cement and sand
Substrate: A water-based primer, like our UNIVERSAL PRIMER is applied with a roller
on a surface free of dirt and grease. If you already have pre-coloured material in your
warehouse, use this for all three coats. If you have white material, you can use this for
the first coat in order to simplify preparation; it saves time and colourant. Remember
that PASTELLONE comes in two versions: MEDIUM for the first coat and FINE for the
second and third coats, although many applicators prefer to use MEDIUM for all three
layers to get a stronger finish. Mix the material for the first coat with water to make the
mixture dense enough to be applied easily with a metal trowel (see dilution instructions
above).
First coat: During the application, it is useful to have a light source close to and parallel
to the floor. Be careful, however, that this doesn’t dry out the material too much before
applying the final coat. Spread the first coat evenly over the entire surface, finishing,
obviously, at the doorway. You will need approximately 650-700 g of material per
square metre. Let it dry until the next day.
Colouring: If you have pre-coloured material, it will be much simpler to apply the
second and third coats. If you must add colour to the material, there are three
possibilities: 1) Colour the material with powder colourants before adding the water.
You must first establish how much colourant is needed to obtain the colour you want to
achieve. 2) Colour the white material after you have mixed it with water. You still must
do colour tests beforehand to be sure of the exact weight of liquid colourant you will
use. You can prepare toners ready to be mixed. 3) Tint all the water that will be used in
the tinting process. Solutions 2 and 3 are the more practical. In all the cases, the
colourant must be one which is resistant to alkaline environment such as that of
cement.
Second coat: Mix up enough material for the second coat (650-700 g. of powder per
square meter) of PASTELLONE FINE, and using a metal trowel, start applying it. Have
February 24 TDS PASTELLONE 4 of 8
a clear plan of how you are going to apply it in 40-50 cm strips, beginning at the point
farthest from the door. Be careful to apply it uniformly and smoothly.
Third coat: After you finish applying the second coat, you’ll have time to prepare the
material for the third coat. Note that the third coat can be applied with the same
material as the second one. It is difficult to give precise instructions on how long to wait
before applying the third coat because it depends on the air temperature and humidity.
In general, the moment is right when you can comfortably step on it, which would be
after 25 minutes or up to an hour. It is recommended to go barefoot or wear socks that
won’t leave their imprint on the material. Apply the third coat with the metal trowel as
you would a normal MARMORINO but pressing less since you can make it smoother
the following day using the sanding machine or sandpaper. You will need approx. 250
g/sqm of dry product for this coat. Note that if your PASTELLONE is tinted white or in a
light colour, it is preferable to use our BIANKO TROWEL, a special titanium trowel that
doesn’t leave any dark mark. If you want to make a smoother finish at this stage, you
can complete the whole floor and then, when you can step on it, come back using a
spray bottle with water and go over it again with the trowel, working a small area at the
time. Spray the water and polish using both a metal trowel and a plastic trowel or,
better, using the BIANKO trowel. You will notice that on the floor, you don’t need to
finish it as smooth and polished as you would on a wall. Besides, it is not possible to
return to polish it after 10 or 15 minutes, as you do on a wall. BE CAREFUL NOT TO
LEAVE DROPS OR EXCESS OF WATER ON THE FLOOR OR THEY WILL LEAVE
LIGHTER MARKS.
Polishing: The day after, the floor can be sanded with a sanding machine. This
treatment is done to make the surface smoother and to increase the movement of dark
and light marks. A P80, P100 or P120 paper can be used. The sandpaper does not
scratch the surface since it is very hard, but just polish it.
For a plain finish: The easiest and fastest way to polish PASTELLONE requires the use
of a sanding machine with disks of metallic mesh, P100. In this case, you can apply the
last coat without pressing too much, just having care to make the floor quite even.
Sanding with the metallic disk helps make the surface smooth also if the last coat was
not very well done and homogenizes the surface. This application method reduces the
working times and results in a more even finish.
For a shaded effect: If you want to have more movement you can apply one or more
layers of a coloured solution. After the polishing phase is completed, prepare our
UNIVERSAL PRIMER diluted 1 part of primer and 18/20 parts of water. Tint it in the
needed tone and, after making a proper test, apply this solution all over the floor using
sponges or better normal clothes. In this way, where you leave a more tinted solution
you get darker areas, creating “shadows of colour”. Please, be careful to make tests
before tinting the floor and note that usually one single layer is not enough. To get a
harmonious effect you must apply two or more layers.
PASTELLONE with aggregates: Our PASTELLONE can be coloured naturally with
small stone chips and marble powders. Not only these aggregates will convey more
depth and add to the natural beauty of the finish, but will also make it harder. You can
add fine powders, starting from 0.7 grain size up to 1.8 mm stone chips of different
shades to the usual PASTELLONE material, and colour the finish without a drop of
February 24 TDS PASTELLONE 5 of 8
colourant paste. It is important to follow the granulometric curve of the aggregates,
which should be complete, starting from 0.7 grain size (the grain size of PASTELLONE
Medium), up to the desired max chip size. In this technique, PASTELLONE MEDIUM is
used for all the three coats, and the aggregates are added to the material used for the
second and third coats.
• For aggregates of 0.7-1.2 mm, you can incorporate them up to 25% of the
total weight.
• For aggregates ranging from 0.7-1.8 mm, they can comprise up to 30% of the
total weight. Ensure a roughly even ratio between the 0.7-1.2 mm and 1.2-1.8
mm sizes.
• When using powders finer than 0.7 mm to colour the finish, limit their addition
to no more than 5% of the total weight. If you opt for these fine powders, avoid
combining them with larger grain-size aggregates.
Exceeding these quantities can disrupt the balance of the Pastellone formulation,
leading to application issues.
The application technique is the same as for a plain PASTELLONE finish, with a few
exceptions: Start applying the 3rd coat as soon as you can safely walk upon the 2nd. If
you wait too long, the surface will be too hard, and the aggregates of the third coat
won’t be able to penetrate in the 2nd During the third coat, every completed 2-3m2, go
over the surface again, spraying water and passing the trowel over the surface to close
the pores. Before polishing, fill the holes with some PASTELLONE material.
The polishing must be done starting with a 40 or 60 grit sanding disc, the surface being
very hard.
Warning: Create an environment with the right humidity because the slower the
material dries, the stronger it becomes. The floor shouldn’t be walked on for several
hours and in any case should be protected until you apply the final protection. Without
the final protection, the floor can always be easily stained.
* Notes on substrates:
ON NEW CONCRETE SCREED: If you are working on a new concrete surface, be
sure that it is at least a month seasoned and that it is completely dry. It’s possible for
cracks to appear in new concrete in the first 3 weeks after laying the concrete.
ON PLYWOOD PANELS: Application on plywood floors is possible, provided that the
panels are solidly glued and that the floor substrate is stable. Do not apply on plywood
panels that have been screwed and not glued. Screwed panels tend to vibrate. Any
movement of the plywood floor will cause cracks on the PASTELLONE finish.
IN SHOWERS: This material can be used in wet areas such as shower walls and
steam-bath walls.
ON CERAMIC TILES: Apply one coat of GLP (Gap Levelling Plaster) within the tiles’
gaps, and, when this dries, apply a second coat of GLP all over the floor. This method
doesn’t require you to abrade the ceramic tiles since it is very adhesive, and it fills the
gap among the tiles with a single application, as it is a plaster that has no shrinkage.
SUBSTRATE WITH CRACKS: On a cement screed, consider whether the cracks are
due to the curing process and not due to settlement movements. If they are due to
February 24 TDS PASTELLONE 6 of 8
settlement movements: First, apply a narrow fiberglass mesh (7-8 cm) along the crack,
and fix it to the surface using a fibrous plaster, like our ANTICRACK. Then, use 100
cm-wide FIBERGLASS mesh (available at Stucco Wall), placing them side by
side without overlapping them, covering the whole floor. If the floor surface is a new
screed, you can fix the wide mesh bands to the floor with the first coat of
PASTELLONE. On the contrary, if the floor is covered by tiles or marble, you should
first fix the mesh with a layer of highly fibrous and adhesive plaster, such as our GLP.
When you apply PASTELLONE over a tiled floor, you should pay particular attention to
cracks. Sure enough, tiled floors often present cracks. Nevertheless, they are hardly
noticeable, as the crack rarely breaks the marble or ceramic tile. Most often, the crack
will follow the tiles running along their edges. Usually, the operator does not notice it
until the work is finished, when the crack appears clearly over the plaster. The crack on
the tiled floor is hardly noticeable, because it follows the edges of the tiles, and it hides
in their gaps. For this reason, it is advisable to always apply a mesh on all tiled floors
before applying a coating. We especially recommend it when you work on floors
located above the ground floor, which, in a building, is the most stable one.
Tips:
TOUCH-UPS: It is possible to do touch-ups when necessary. To do this, we advise
keeping some of the powder-coloured material (if you had it) in a well-sealed container.
Use a container which is just big enough, so the material is exposed to little air. Doing
this should allow you to keep the material ready to use for many years. Or keep note of
the formulation to tint the flooring plaster, if you were starting from not tinted material.
WORKING IN ADJACENT ROOMS: If you must work in two adjacent rooms, it is
advisable to create a natural break at the doorways. You can’t, in fact, work in 2 or 3
rooms at a time without having breaks. One way to deal with this is to put a band of
metal (aluminium, steel or brass) into the concrete (screed) substrate which will act as
a divider. This band of metal should rise above the surface of the concrete 1.5 -1,7
mm. We use metal blades that are 15 mm high and 3 mm thick, and we fix them after
cutting the screed for at least one third of its thickness, which forces the screed to
convey any movements along this cut without creating cracks in the other areas.
USE KNEE PADS: Whenever applying products on floor surfaces it is advisable to use
knee pads.
BE AWARE OF HEAVY OBJECTS: Dropping heavy objects on the surface can cause
small dents, exactly as happens with wood flooring.
Exteriors: For exterior wall applications there are some rules to respect and some
precautions to take. We remind you that carbonation, i.e., the process that takes place
through the absorption of atmospheric CO2, is completed in a few hours on the surface
but takes several days to take place in depth. It is therefore important that the
application takes place in the certainty of the absence of heavy rains in the three
following days. It is also not recommended to apply it on walls that do not have at least
a small roof overhang. Penetrating rain could ruin the finish even after weeks as deep
carbonation is completed after more than a month. Avoid windy days, especially at high
temperatures, as well as the risk of frost in the 48 hours following application. In
February 24 TDS PASTELLONE 7 of 8
external applications in hot climate conditions, it is also recommended to protect the
wall from the sun with shade cloths applied to the scaffolding. Lime-based products
must dry slowly to better fulfil their characteristics.
Finish Protection INTERIOR: BEESWAX / MINERAL WAX / MARSEILLE SOAP / HYDROCALCE
EXTERIOR: MARSEILLE SOAP / HYDROCALCE
WET AREAS/ FLOOR: PRESEALER FOR PASTELLONE + PU1C / PU2C
FURNITURE: PU1C / PU2C
Interior walls: A protective treatment is optional in most circumstances. It is however
necessary in bathroom walls, kitchen and splashback walls, and a must inside
shower/sauna walls.
Exterior walls: This finish, as all lime-based plasters, absorbs water during rainy
weather, which results in a temporary "wet effect" on the surface. However, this plaster
releases the absorbed water within a few hours, allowing the surface to dry without any
damage nor alteration to the finish. While a final treatment is therefore optional, it is
highly recommended in areas with high pollution levels or if you wish to avoid the
temporary wet effect that can occur after rainfall. To protect the finish, after at least 72
hours at a minimum of 20°C, proceed with a colourless, penetrating HYDROCALCE,
developed to protect exterior plaster coverings.
Interior floors: A protective treatment is necessary. After 2-5 days (the longer, the
better), you can apply the final treatment which can be done in two ways:
A) With the application of 2 or 3 coats of PU1C or PU2C (single or dual component
polyurethane). This is usually applied with a roller. It can be preceded by a
waterproofing and stabilising treatment made with our PRESEALER FOR
PASTELLONE applied in two coats. This treatment facilitates the application of the
varnish and reduces the absorbency of the floor. After the PU varnish you can apply
two coats of PROTECTIVE WAX. This third step is not necessary but makes the floor
easier to clean.
B) The alternative, Eco treatment is done with ECOTOP, ecological vegetable oil. Pour
it on the floor and spread with a soft, absorbent cloth. Remove all excess by spreading
sawdust onto the whole floor, or by cleaning it with a cloth. Note that, before applying
ECOTOP the floor must be very dry, since the presence of alkaline water could cause
the saponification of the oil, leaving white marks on the floor. After 2 days, apply
MINERAL WAX in a minimum thickness with a trowel or cloth. Keep in mind from the
beginning that this protective treatment will darken considerably the finish, with that
which we call a “wet look”.
Maintenance Clean with non-acidic, and preferably slightly alkaline or neutral, detergents. Some
flooring wax (as PROTECTIVE WAX) can be used time by time into the washing water.
Tools SI TROWEL / BIANKO, SCRAPERS, CORNER TROWEL, NON-WOVEN FABRIC
Clean with water immediately after use
Decorative complements
(optional)
TERRACOTTA MEDIUM / MOTHER OF PEARL / MILLED MARBLE / MICA /
GLITTER / EBANO POWDER / METALLIC BEESWAX / PERLA WAX / MARBLE
AGGREGATES
We have drawn up the material presented above to the best of our technical and experiential knowledge. Nevertheless,
our suggestions and recommendations are not guaranteed. All responsibility for the obtained results lies solely with the
method and conditions adopted for the application of the product. Such indications constitute valid support for verifying
the product's suitability for the specific case. We reserve the right to make modifications to the present information